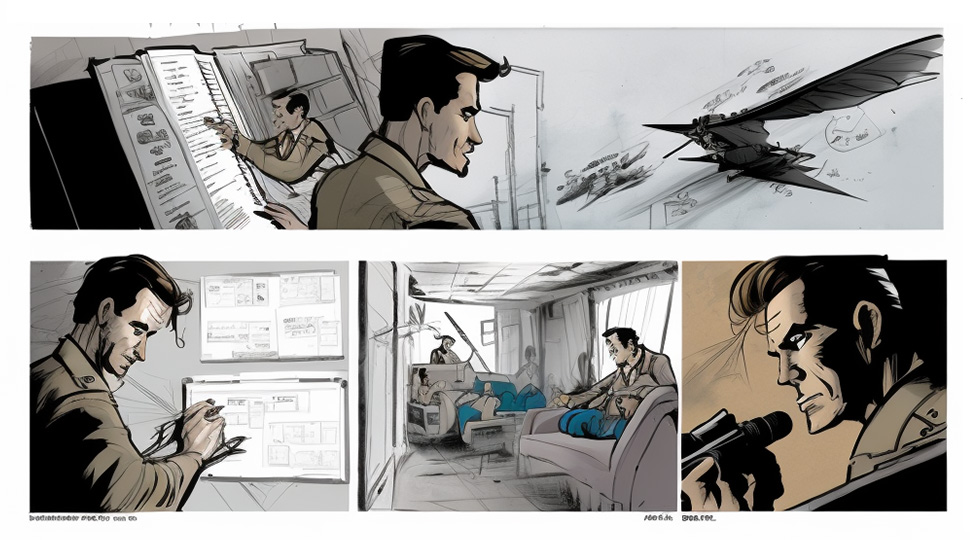
What is a Storyboard?
Have you ever gotten lost in a foreign country or place? The first application you might open would be Google Maps. Similarly, a video storyboard is like a map containing all the visual and written details of each video production shot from the start to the end. It’s also like having a sneak peek of the finished product, giving you a big picture view of your story. And that’s not all, storyboards are also the perfect tool in preparing your crew for a smooth production.
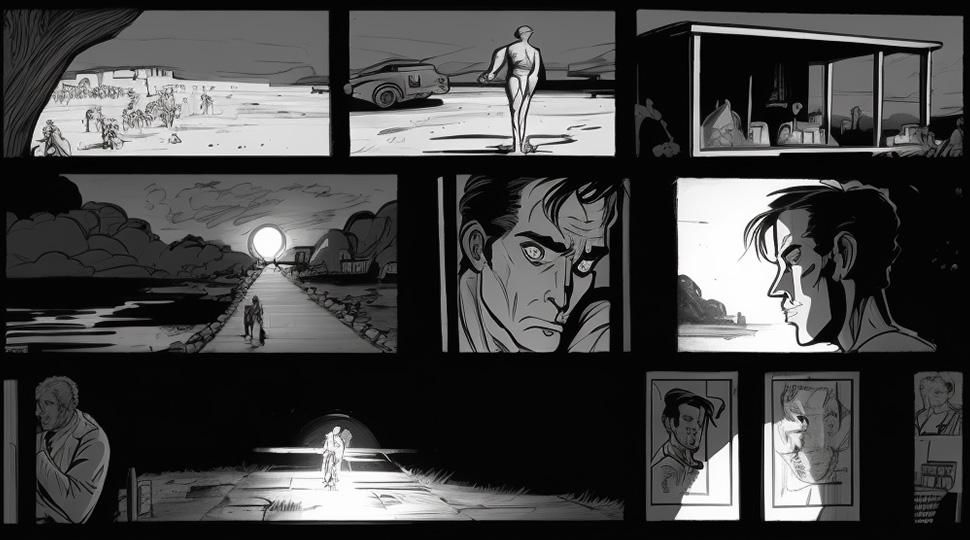
Why is Storyboard Essential?
1) It’s The Most Efficient Way To Share Your Ideas
Most people can agree that sharing ideas with clients with merely just words does not do the trick. We live in a world that loves anything that is visual. So why not show up with a good visual representation of your ideas? Now that’s where a storyboard comes in. It helps your clients better understand the visual direction of where your video is going. They won’t just be able to understand your overall idea, they would also get your narrative flow.
2) Saves You Time
In production, time is money. A storyboard helps you see if an idea works or not. If it doesn’t work, it’s easy to change an idea at the pre-production stage. It also helps you to identify problems such as inconsistencies in narrative flow, style and even in visual elements. Overall, it just makes your production process smoother. You don’t forget shots or scenes anymore. Your editor knows how the final output would look and you can quickly determine the production duration and cost easily. It’s a win-win situation for the entire team. This applies to any type of storyboard, be it an explainer video storyboard, tv-commercial storyboard or even a Hollywood movie storyboard.
3) Saves You Money
By ensuring your ideas are finalised and clear in the pre-production stage, you will be able to plan your production timelines more accurately. Resulting in you saving money on resources, equipment and the rental of locations.
What Are Some Types of Storyboards?
1) Traditional Storyboards
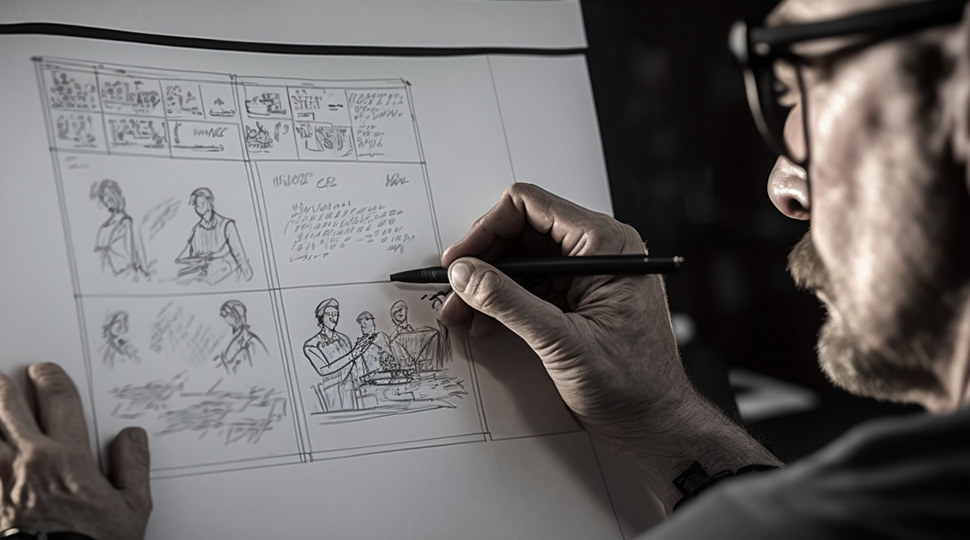
This is probably one of the oldest techniques in the book. It involves making a bunch of rough sketches with just a pencil. Yes, a pencil. Probably something that most people don’t use these days.
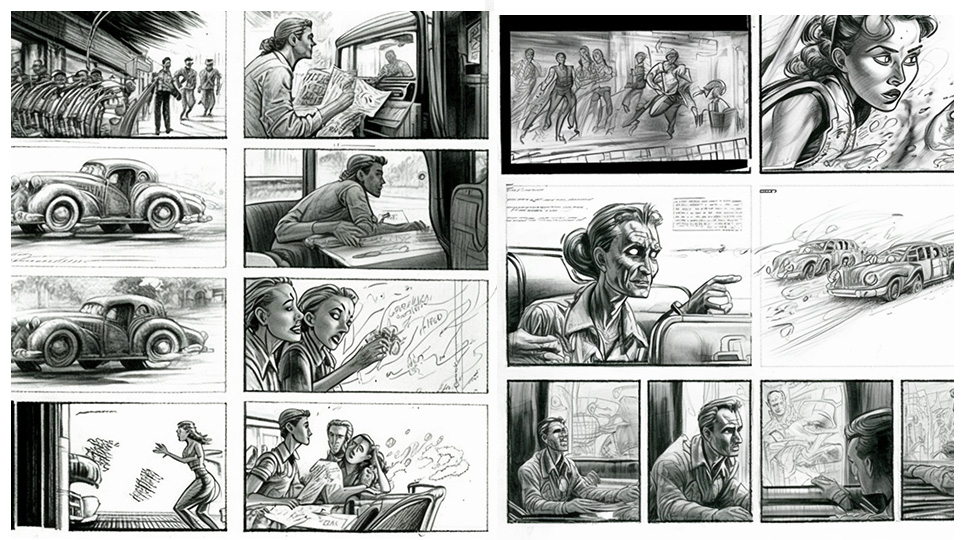
Even in today’s modern age of technology, these hand-drawn storyboards are still super popular in the TV and movie industry. The reason being is that they allow for quick and inexpensive changes to be made, which is great for keeping up with the fast-paced nature of the business.
You can see how the rough sketches show what each character will be doing in each scene, accompanied by written explanations. This helps the production team to stay on track and get the sequence of events just right. Now, here’s the fun part. Traditional storyboards can be as simple or as detailed as you like. Some people use stick figures for characters, and others skip the scenery altogether. The point is to communicate your ideas clearly and help your team visualise the overall flow of the project, no matter how much artistic talent you have.
2) Thumbnail Storyboards
If you have a very clear idea on how you want to visually tell your story, thumbnail storyboards are for you. The best part is this technique requires less time as compared to traditional storyboards as there is no need for text or a ton of detail in the sketches.
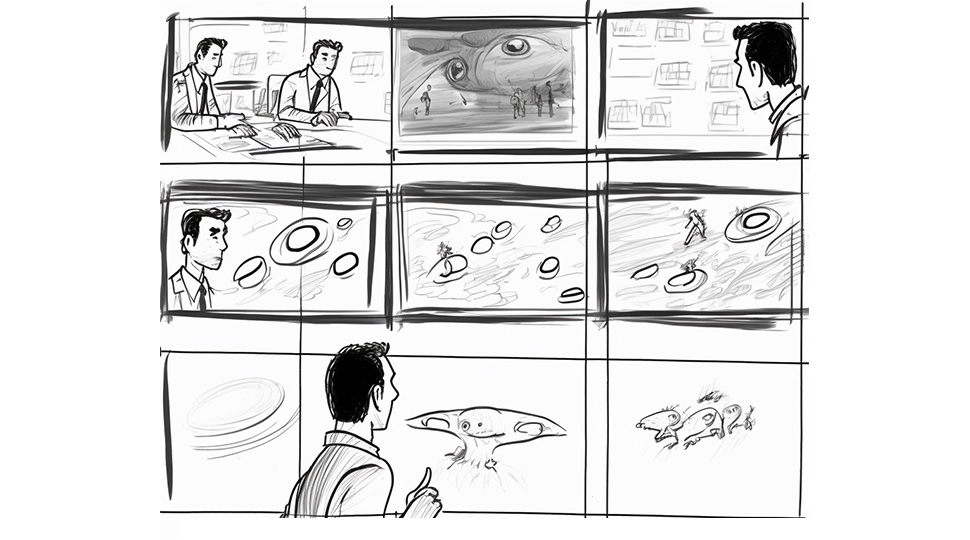
All you need are some basic thumbnail sketches to capture the essence of each scene and get your creative ideas flowing. I would say thumbnail storyboarding might be a quick and efficient way to get your ideas on paper.
3) Digital / Vector Storyboards
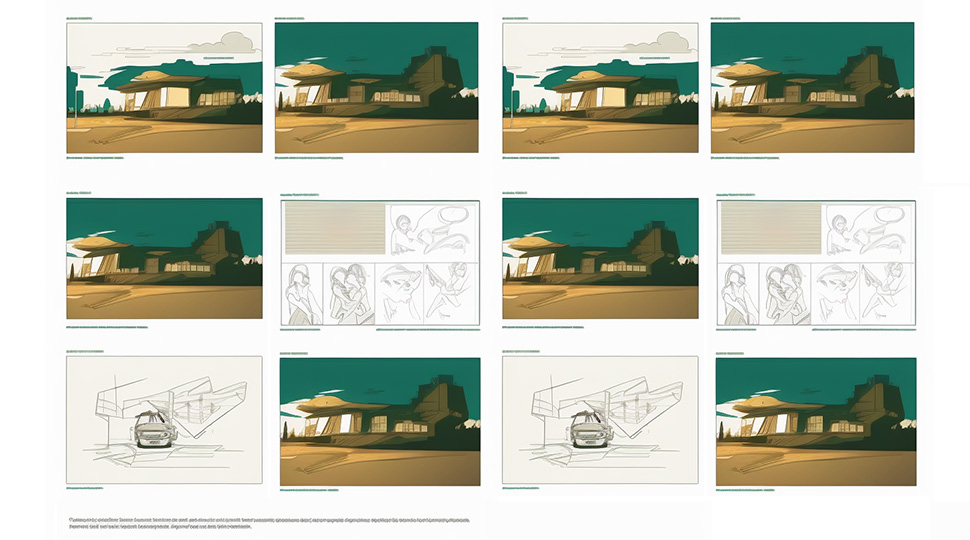
If you’re making an animated video, this might just be your best storyboarding technique. Why? Because you can use the exact graphics that would be in your final video. That means your client and team can get a sneak peek into what the finished product will look like. Using digital storyboards can also save you a lot of time and hassle in the long run.
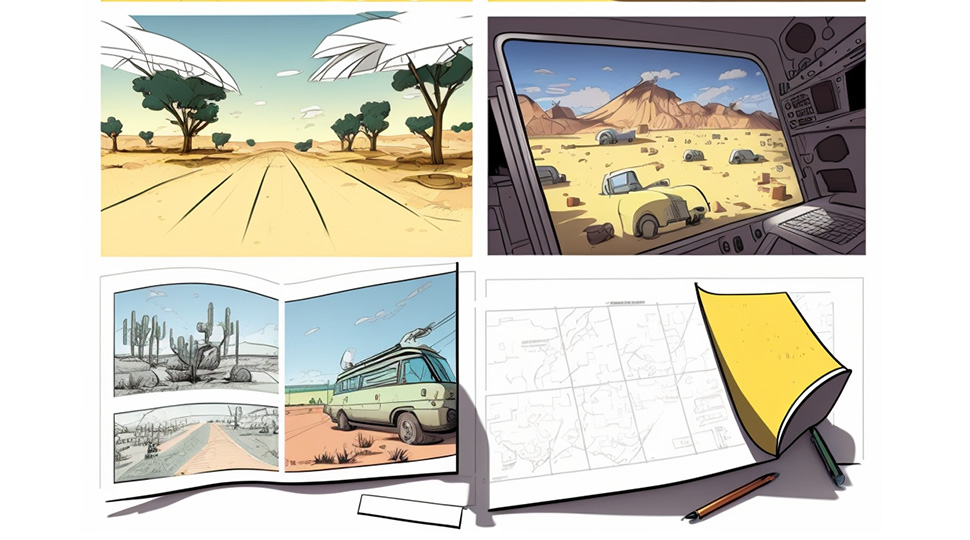
By seeing the graphics ahead of time, you can make amendments and adjustments at an early stage which will result in a lesser need for major revisions down the line. Plus, it allows your clients to provide you with clearer feedback which is always a good thing.
How Can I Start Creating A Storyboard For A Video?
Ultimately, a storyboard consists of a series of images that represents each frame. You don’t have to be a top tier artist to start storyboarding. Stick figurines are acceptable too! But if you think drawing isn’t for you, there is software available to help you turn your ideas into visuals with ease. Platforms like Storyboard That, Studio Binder and MakeStoryboard are just some examples. Whether you want to try your hand at drawing or use software, it’s entirely up to you. Here’s a step-by-step guide on how you can start.
A) Understanding the Purpose and Audience of Video
This first one is a key element to starting your storyboard.
What message are you hoping to convey? Who is your video appealing to? How do you want your audiences to feel after watching the video? What’s the call for action? These are some questions you should be asking yourself as you start thinking of your overall concept and idea. Visually stunning images and captivating storylines are great but if you don’t fulfil the objectives of your client through your video, your project would have failed.
B) Defining the Visual Style and Storytelling Techniques
Every director, animator and designer have different visual and narrative styles and techniques. For instance, when you hear famous directors such as Michael Bay, Wes Anderson and Tim Burton, you immediately recognize and remember the movies they have done.
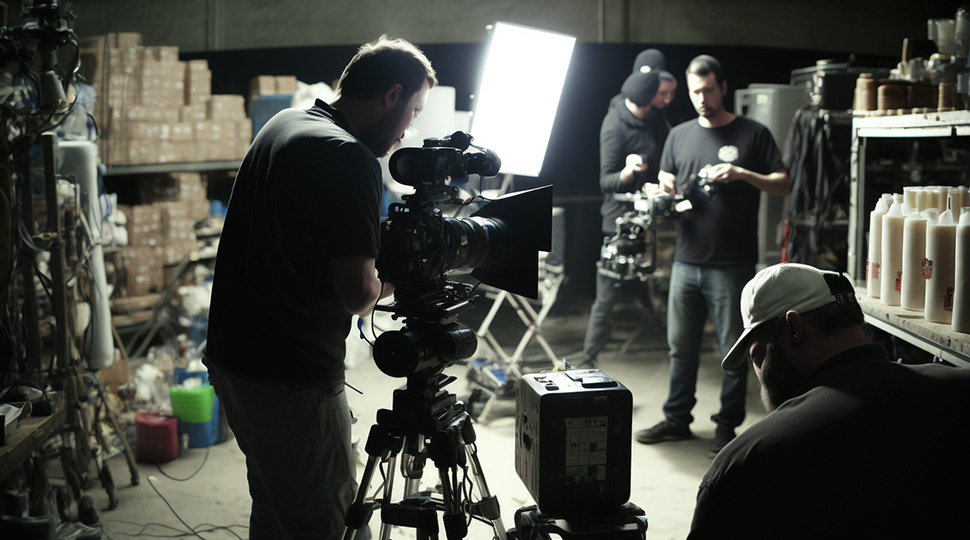
That’s because they each have very different and distinct traits. So, think. What kind of shots can I use? What colour treatment will I be using? Will I be using any special effects or animation? Will I be using a lot of steady-cam shots? Whose point of view is this story being told from? Asking these questions would help you better plan the mood and tone you are trying to convey.
C) Creating a Rough Sketch
Once you’ve got your key message, audience, visual style, narrative and storytelling technique, it’s time to create a rough sketch. Start by picturing your end product. Then, start drawing out each individual scene, shot and camera angle. You don’t have to worry about making it perfect at this stage because the goal is to get all the creative ideas in your head, down on paper.
D) Finalising the Storyboard and Sharing It with Team and Stakeholders
You’re almost done. Now all that’s left is for you to look through the entire storyboard and make any necessary adjustments to any inconsistencies. Once you think its good to go, share it with your team and client to get their feedback.
Final Thoughts
If you want to be guaranteed success in your video or animation, storyboarding is essential. It helps you, your client and your entire team avoid mistakes and explore creative ideas.

By following the steps mentioned above, you can ensure that your video tells a compelling story and achieves its objectives. Production won’t be such a pain once you nail a well-crafted storyboard!


