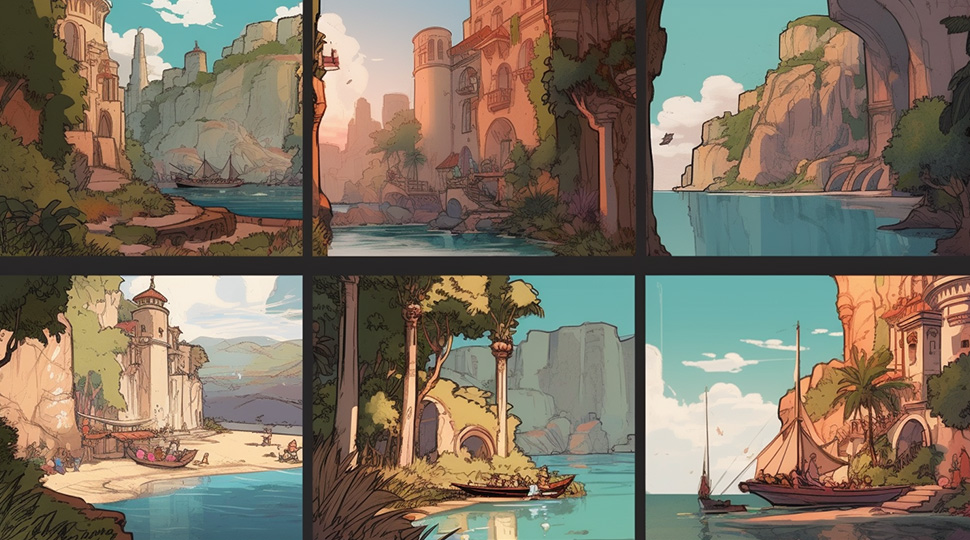
Animation storyboards are a must when it comes to creating different types of animations. It is used during the pre-production process to visualise how the artwork will appear through motion and changes over time.
No animation production is complete without a storyboard. It’s like the blueprint of most stunning animation projects that have existed. This handy visual plan on paper includes rough sketches of all the critical moments and scenes that serve as a guide when animators bring the story to life.
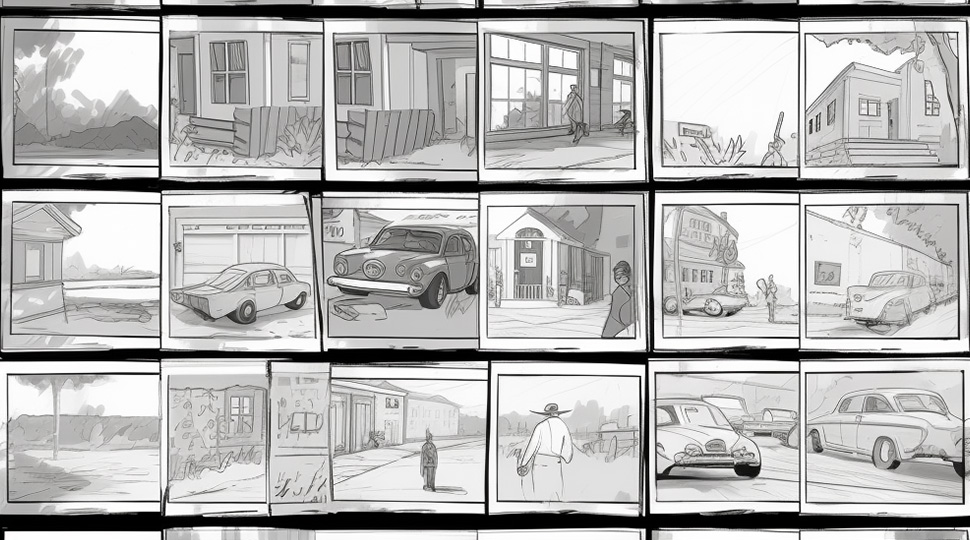
The final frames can be created using animation software, hand-painted, or even sculpted out of clay. Regardless of the approach, this crucial first step helps the animators and production teams define their creative vision and illustrate complex concepts.
Back in the day when films were still black and white, there were professional storyboard artists that would create storyboards in animation studios. However, nowadays anyone can come up with a storyboard. All you need is a pen, paper and a big idea! Before we get to the juicy part of storyboard creation, let’s see why creating them is important in the first place.
What is An Animation Storyboard?
A storyboard is like the foundation for any type of animation. It is a collection of drawings and annotations based on a script or story idea. Once it’s done, it acts as a visual guide during the production of the final animated videos.
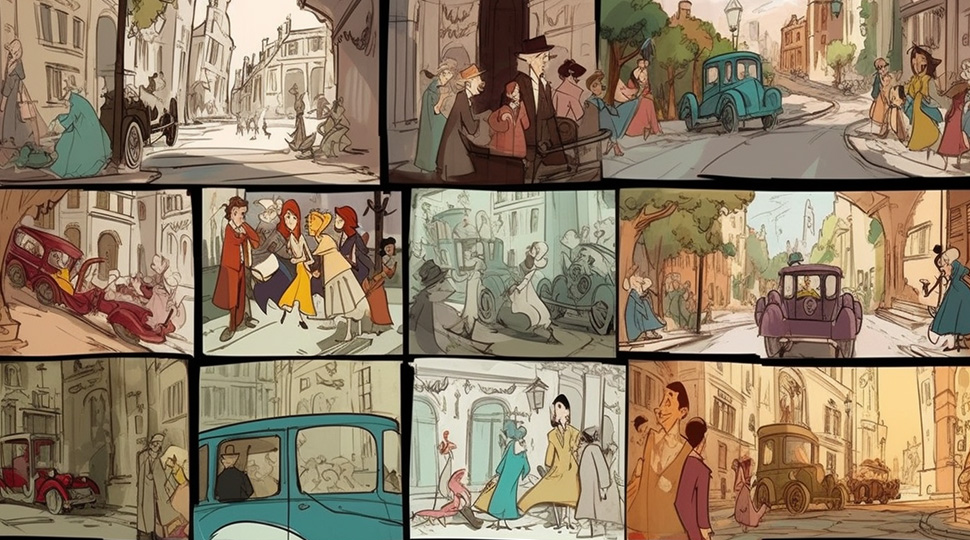
It consists of sequences that help the animation team and art directors bring the ideas to life. It also gives everyone on your team a clear vision on what to expect.
A well-crafted storyboard should include detailed notes on the audio and technical aspects of every scene. This includes your camera movements, transitions, music, voice-over script and special effects. The more comprehensive your storyboard is, the easier and more efficient it will be for the animation team.
Why Do Animators Use Storyboards?
Most animators would tell you that an animation project is long and tedious. If you’ve heard of the famous Oscar nominated stop-motion animation film called “Kubo and The Two Strings”, did you know the production time took 18 months?
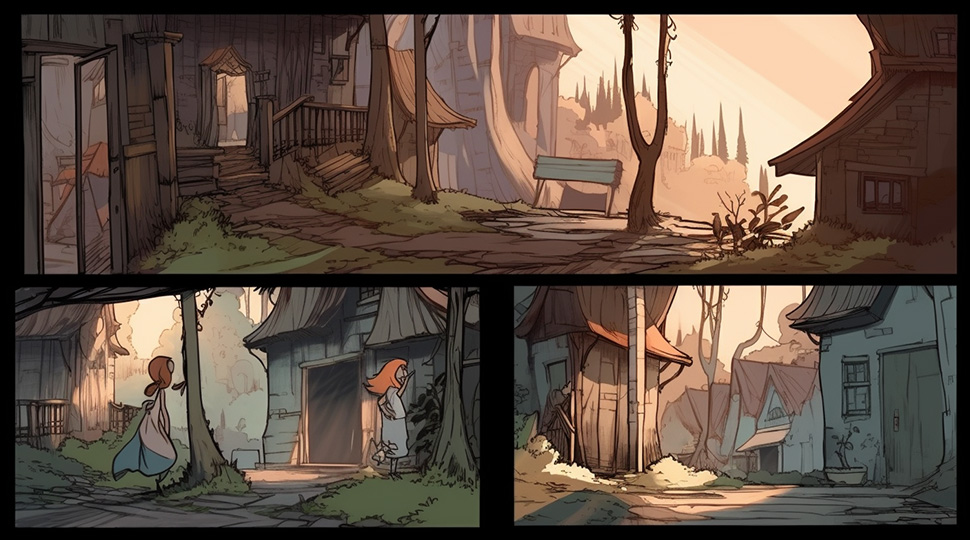
Yes, to make a stunning animation it requires patience and time. That’s why it’s worth adding the creation of a storyboard to your to-do list.
1) It Helps You Stay On Track
When an amazing idea pops into your head, you get excited and immediately dive right into animation. You’ll soon realise that’s a terrible idea.
Without a clear plan of how each scene goes and how it will look like, you can quickly become lost and lose sight of your end goal. Storyboards are like your road maps that make sure you stay organised and focused on your creative vision.
2) It Saves You Time
By creating a detailed visual representation of your ideas, you can catch any potential problems before you start animating.
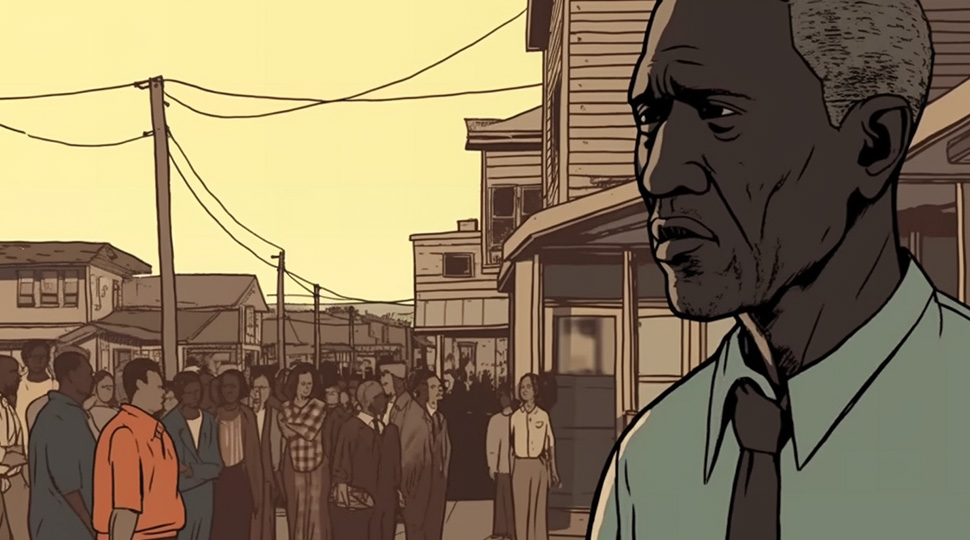
If you’re managing an animation for a client, sharing the storyboard can give them the chance to provide feedback and request changes before production begins. It’s going to be much easier (and cheaper!) in the long-run.
3) It Helps Identify Loopholes & Concept Problems
Once you’re done with a storyboard, you get a bigger and better picture of how the whole video would look like. From there, it’s easier to see if something fits or not and you can change it right there and then.
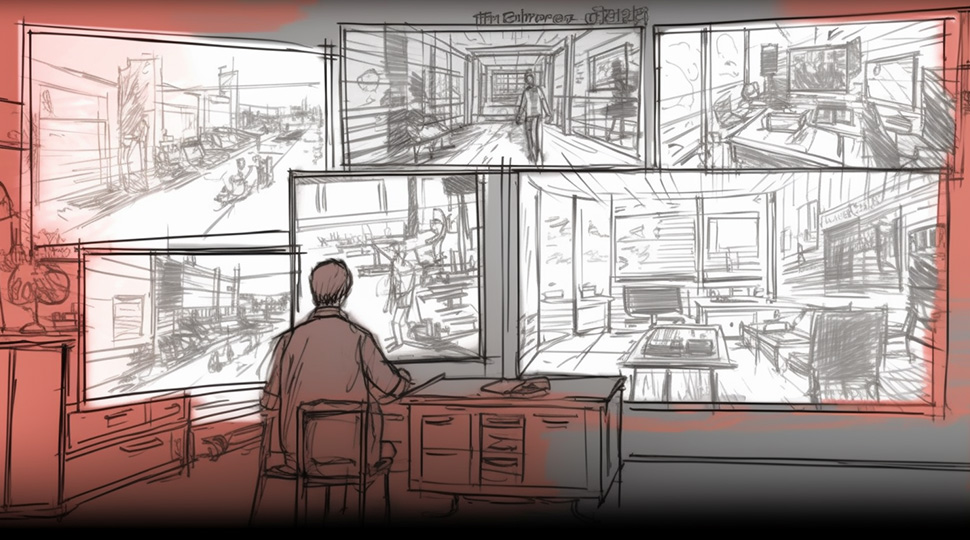
Usually at this stage, you’ll work on the storyboard till it’s detailed and you’re fully satisfied. It’s better to worry about the details of your project now than later once you actually start production.
How to Make Storyboard For Animation?
Now that you understand why this is an important part of your production process, let’s get into the secret ingredients to creating a stunning video through storyboarding.
1) Concept Development
Before you jump into the actual storyboard, you have to come up with your concept. Jump into a creative brainstorming session to generate ideas. Rough sketching is part of this process. Think about who your target audience is so you can establish an overall tone and style of the animation.
Also think about who your characters are, what story are you trying to tell and what is the call to action at the end. What do you hope your audience will do after watching your video? What is the main message you hope your audience will understand? Once you’ve got all that sorted, you’ll have a solid concept that is ready to go.
2) Characters & Their Personalities
After deciding on your overall concept, you can start thinking of your character design. This will involve creating sketches and refining them until you have a final character that fits the story or fits the idea you have in your head. Picture the character in your head, think about the personality and physical traits of it.
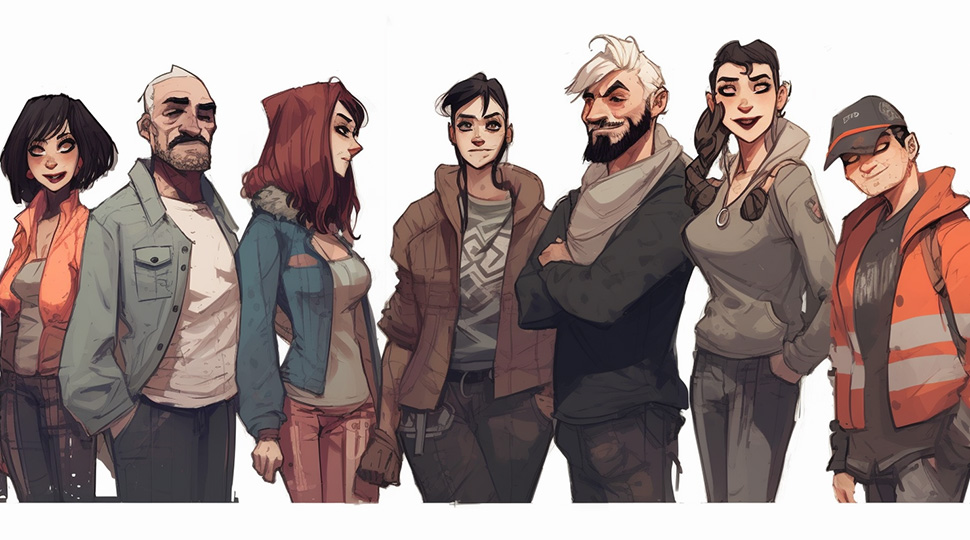
What is their sense of style? Hair, eye colour, what’s their ethnicity, these are all things you can think about when coming up with your character profiles. It’s good to be as detailed as you can. Your animators will thank you later 🙂
3) Storytelling & Visual Notes
Now it’s finally time to start creating the storyboard itself. If you have a script ready, that’s great. Then you can break down your script into scenes. However, if you don’t have that, that’s okay, just break down your story instead.
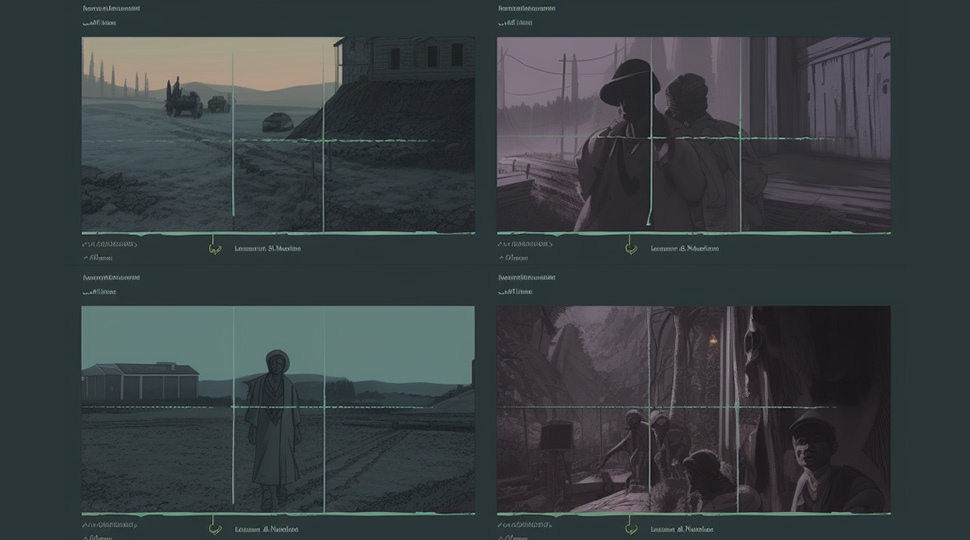
Sketch out the key moments of each scene. Think about your camera angles, transitions and pace. When you look at a good storyboard, it should be able to tell your whole story visually without the need of any dialogue or text. Use arrows and annotations to emphasize movement and actions.
4) Developing A Unique Style
When you collaborate with a client, conveying the visual style of an animation is important and sometimes a script alone won’t do the trick. That’s where storyboards come in, allowing you to flesh out your ideas visually and create a cohesive look and feel. This is the perfect time to consider your colour scheme, character designs and backgrounds. 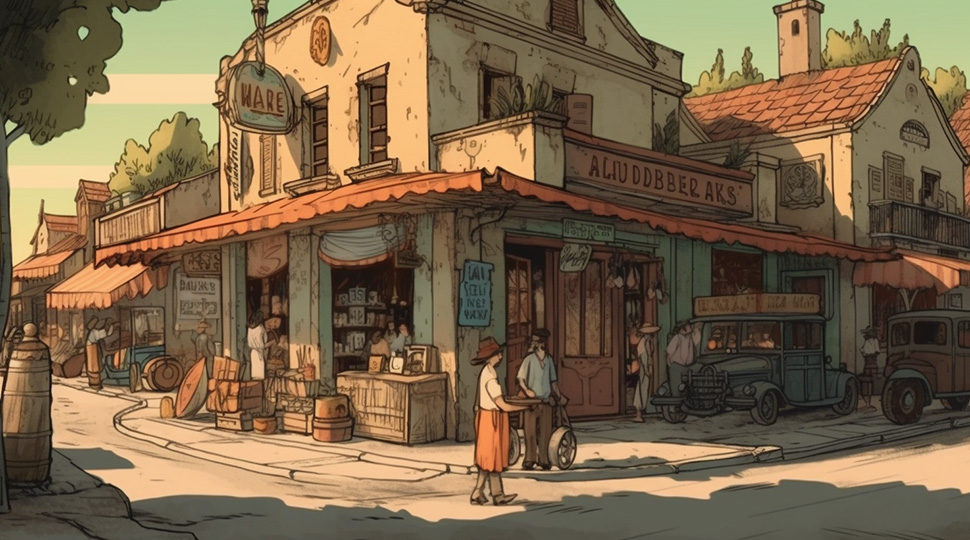
If you feel unsure about the direction you want to take, collect reference images and videos and place them on a mood board. This will really ease your storyboarding process. Coming up with a checklist of all the elements you’ll need to draw according to your script can be useful.
5) Sound Design Notes
This is often an overlooked aspect of animation but it’s so essential in helping you create a great story. Think about your sound effects, music and dialogue and how they can be used to enhance the overall visuals.
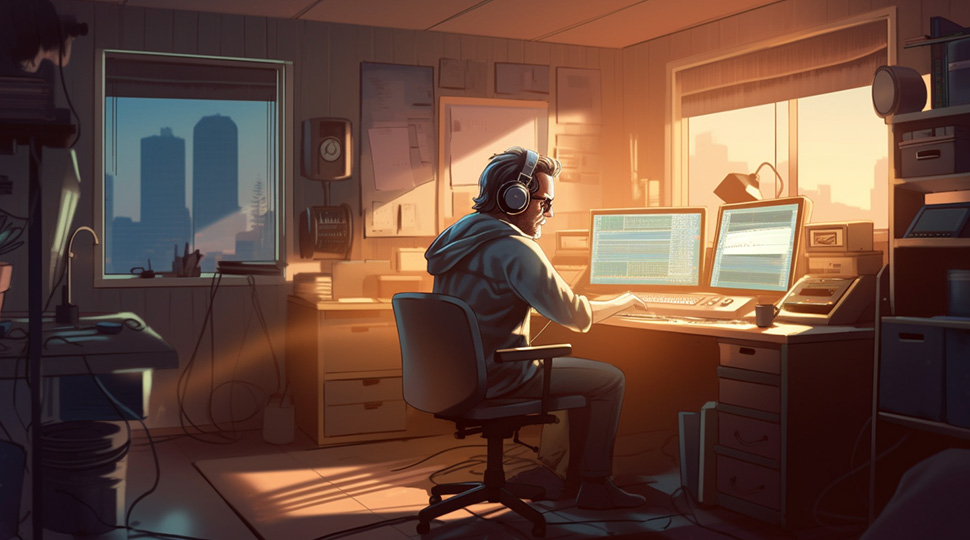
Sound is a key tool to taking your video to another level. It helps give your audience a more immersive and engaging experience. Make use of annotations and notes to indicate where your sound effects and music will be added and how it can blend with the visual elements of your animation.
6) Combining All The Ingredients
With all that together, you should be good to go. At this stage, all you need to do is tweak and make small changes to your storyboard. Add the final touches to your character designs, sound design and make sure there are no loopholes or gaps.
You can also add details on whether you’ll need dynamic movements in certain scenes. In the end, everything should work together visually and seamlessly.
Final Thoughts
The time taken to create an animation storyboard depends on the complexity and length of your project. A simple storyboard for a short animated video can take a few days to complete while a more complex animation can take a few weeks or even months (e.g featured animated films).
Storyboarding is an important part of the animation process and it’s worth giving time and attention to. A good storyboard will save you a lot of time in the long-run and help your team and clients visualise the final product better.


